
Creating a static site contact form with email notifications using Google Forms.
Note: Due to changes in the services provided by Google this method may no longer work as described.
If you are like me and use a static site generator for your website/blog you gain a lot of nice benefits in terms of simpler hosting, security, and performance. However, certain tasks that usually require server-side code require a different approach. I recently added a contact form to my website using Google Forms, Sheets, and Apps Script to create an embedded contact form with email notifications.
While it is not a perfect solution it works quite well for low volume sites. Before using this approach you should be aware that Google currently imposes daily limits on the number of emails you can send depending on the type of account you have.
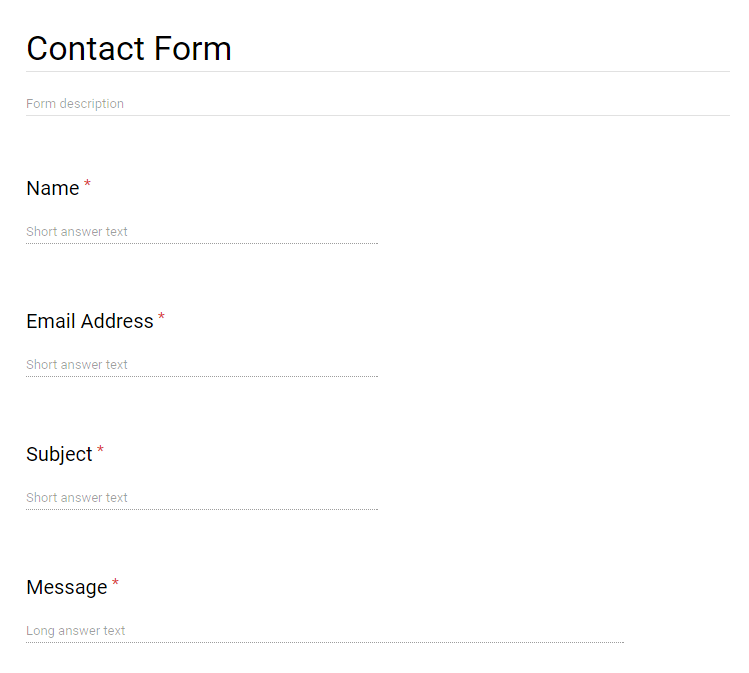
First, start by creating a Google form with the fields you would like to include. For my form I included name, email address, subject and message. Note that the field ordering will be important later on when writing the apps script.
Once you have configured the form and validation options the form must now be linked to a spreadsheet. This can be done by going to the “Responses” tab and clicking the ‘triple dot’ menu and clicking “select response destination”. You can either opt to create a new spreadsheet or use an existing one.
Now, go to the newly created spreadsheet and go to “Tools > Script Editor”. This will take you to the
apps script editor for the current spreadsheet. Paste the following code into the script editor and
modify as needed to suit your needs. At a minimum you must change the toEmail variable.
function emailForm(e)
{
  var toEmail = "<YourEmailHere>";

  if(e != null && e.values != null && e.values.length == 5) {
    var timestamp = e.values[0];
    var name = e.values[1];
    var fromEmail = e.values[2];
    var subject = e.values[3];
    var messageContent = e.values[4];

    var message = "Message received via contact form.\n\n";
    message += "From: " + name + " <" + fromEmail + ">\n";
    message += "Sent: " + timestamp + "\n";
    message += "Subject: " + subject + "\n\n";
    message += messageContent;

    MailApp.sendEmail(toEmail, fromEmail, "Contact Form: " + subject, message);
  }
}
Important! The e.values array items contain the fields in the order they are on
your form (and in the spreadsheet). Depending on your form content the script above
will need to be modified.
Now you must define a trigger for which the script will be executed. Go to “Resources > Current project’s triggers”
and then add a new trigger. The tigger should be set to run emailForm with the “From spreadsheet” and “On form submit”
events. You will be prompted to grant the project permission to access the spreadsheets and send email. This must be
allowed for the script to work.
Save the script at this point and test your form. Submissions should now be added to the spreadsheet and also emailed to the specified account. At this point you can either link to the form from your website or embed the form.
To embed in a website go back to the form and click the “Send” button. Click on the code <> icon and copy
the HTML to your website.
You should now have a form that you can use with a static website, or any other use online, that will store the results both in a spreadsheet and email them directly to a specified address.